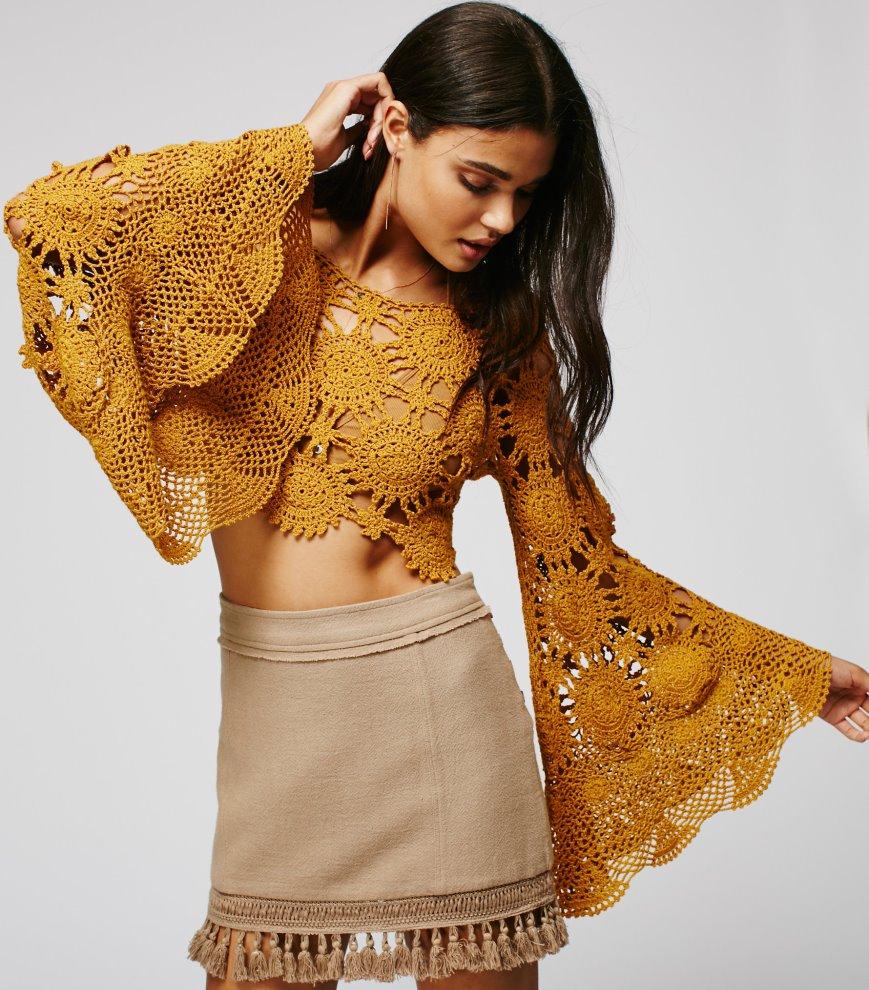
Crochet tops are versatile and trendy pieces of clothing suitable for different occasions. Moreover, making your crochet top can be a fun and rewarding experience. In this blog post, we’ll provide you with a step-by-step tutorial on how to make a crochet top for beginners.

Gather Your Supplies
Here are the supplies needed to make your crochet top:
- Crochet Hook: You’ll need a crochet hook that’s suitable for your yarn crotchet. A size G, H, or I hook is suitable for most projects.
- Crochet Yarn: You can try cotton or acrylic yarn. For this project, you can pick up to 500 yards of lightweight cotton yarn to get started.
- Scissors: You’ll need a pair of sharp scissors to trim your yarn.
- Tape Measure: You’ll need a tape measure to ensure accurate sizing of your top.
Select Your Pattern
There are various patterns available that you can use for your crochet top. For beginners, it’s best to choose a simple pattern to get started. Look for patterns that require basic stitches like single crochet, double crochet, and chain stitch.
Create a Swatch
To make a crochet top that fits without much trouble, you’ll need to make a swatch. It would help if you worked a small part of your pattern and see if it matches the given gauge. Your gauge would determine how much yarn and the number of stitches required for your project.
Follow the Pattern
When working with a crochet pattern, it is essential to follow the instructions carefully. Check the stitch descriptions and ensure that you’re following the correct stitches. Make sure you count the number of stitches in each row to avoid mistakes.
Start the Base Chain
You can start your top by creating the base chain of the pattern. Your chain should be one stitch less than the length you want your top to be. Start by making a slip knot on your crochet hook and then create the base chain according to your pattern instructions. Continue by making the pattern’s stitches across the base chain to form the rows that will be the top’s body.
Change Color as Needed
If your crochet top has a design that requires color changes, make the change by joining the new color yarn to the last stitch of the previous row. Make the change by pulling the new yarn end through the last stitch loop, snip off the previous color yarn, and continue working with the new color.
Create Armholes
To create armholes on your crochet top, begin by marking the sections of the top where the armholes will be. This often starts from the shoulders. When you get to the area where the armholes are to be created, you will create chain stitches creating the armhole. Work the stitch back and forth and make the armhole space large enough to accommodate the needed space.
Finish the Top
Once your armholes are complete, continue with the body of your top until it reaches the desired length. Finish off the top using a single crochet stitch. Proceed by securing the yarn with a knot and then weave your threads in and out of the stitches using a tapestry needle.
Block the Finished Top
Blocking involves getting your finished top wet and then laying it out to dry. This will help the fibers relax, and the top would become better defined.
In conclusion, making a crochet top is a fun and rewarding experience. With this step-by-step guide, you’ll be able to create your very own crochet top. Remember always to follow the pattern instructions, be patient when creating your swatch, and have fun as you work on the base chain, stitches, and armholes. Make sure you take appropriate measurements and adjust it according to your preference. Finally, enjoy wearing your handmade crochet top!